Before & After: Our Fireplace Makeover
When we bought our house I had a real love/hate relationship with our fireplace. I loved the fact that we had a giant wood burning fireplace in our living room, but I hated its dark, crumbling, faux stone façade. The mortar was mostly gone and the stones were constantly coming loose, plus the gaps between the stones were the perfect spot for spiders to hang out. The mantel was another problem: to call it rustic would have been kind – it was raw wood. If you ran your hand along it you were guaranteed to get a splinter. I knew when we moved in it would be one of my first projects.
Our house was built in 1945, but in the 70s an addition had been put on that included the living room and its fireplace. The addition part of our house had a very 70s "ranch" vibe, that didn't go with the rest of the home. I knew that by updating the stone on our fireplace, I would help to bring cohesion between the original parts of the house and the addition.
In a perfect world, I might have removed the stones and started over with a new façade, but there'd already been some expensive repairs to the inside of the chimney. I didn't want to invest anymore of our renovation budget into the fireplace. After doing some research, I decided to re-mortar the stones and brighten everything with some lime wash paint. Lime washing, also known as white washing, is an technique that's been used for centuries to brighten and protect masonry. The process is great for stone and brick because it absorbs easily and helps to harden the masonry. Best of all, the total project cost ended up being only $60 for a big transformation.
Before
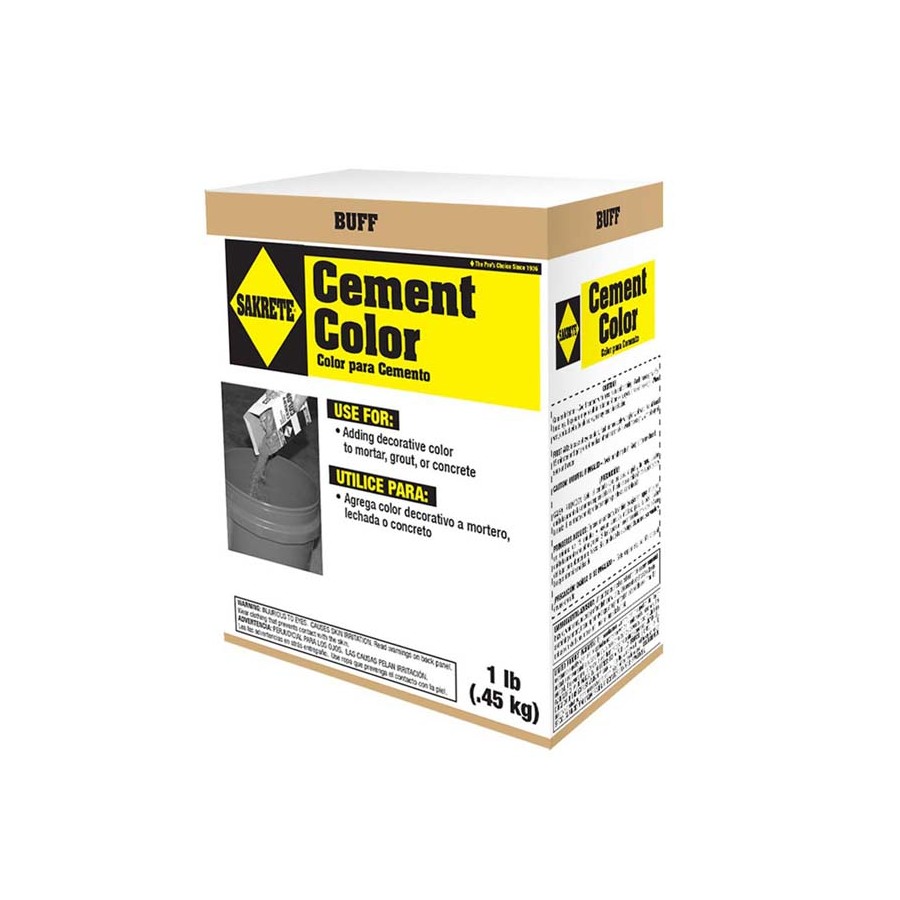
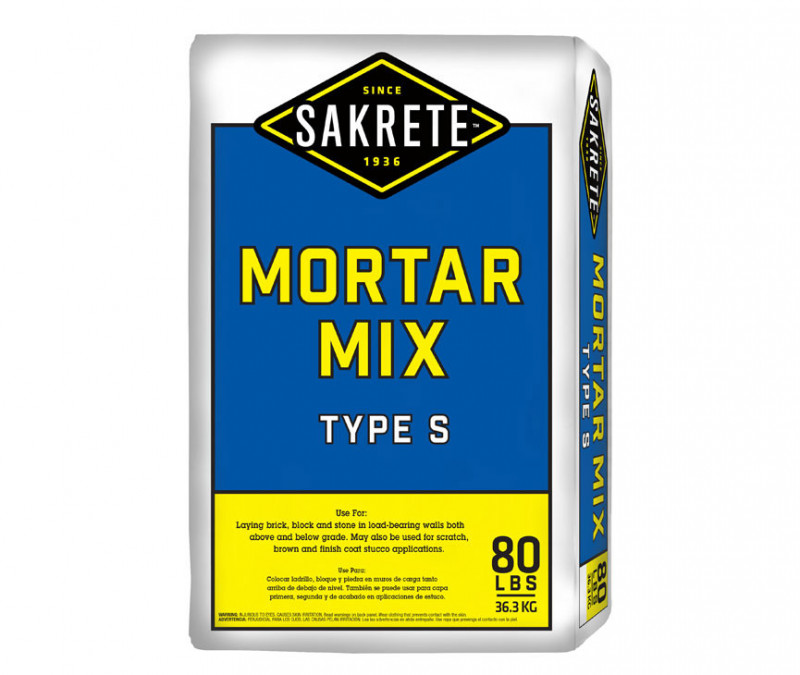
To start, I mixed Sakrete Mortar Mix with some of this buff coloring powder to make it match the color of the stone. I worked in small batches, mixing the cement in a large tub so I could move it around as I worked. I added about 2 tbsp. of the coloring powder to each batch. Since I was painting the stone, I didn't worry too much about the cement matching perfectly from batch to batch.
Because the fireplace had so many gaps, I needed a lot of mortar. I used almost two full 80 lb. bags by the end of the project.
After the mortar was mixed, I applied it to the stone. I tried several different tools that were recommended for mortaring, but end the end, using my fingers worked best. It was the easiest way to work the mortar into the nooks and crannies of the stone. This part of the project was very labor intensive. I had originally allotted one weekend for this, but it ended up taking two plus a few week nights to finish.
Above you can see the difference from the filled vs. unfilled stone. The bottom of the fireplace has been filled in. I chose to over mortar the stone, meaning the mortar came to the edge or extended past the stone in some places. I wanted it to look as thought it had been re-mortared and repaired over the years, so that the age of the fireplace would be believable to the original build date of the home.
I let the mortar dry for a full week before I painted it with the lime wash.
While the mortar dried I updated the mantel.
The first step was to sand off all the rough edges. In the top left picture, below, you can how raw the original wood was. Sanding indoors was pretty messy, but there wasn't a way to remove the mantel, so I made it work. I taped off our other rooms from the living room with plastic drop cloths to contain the sanding dust.
I wanted to keep some of the imperfections of the wood, so I used a light hand while sanding.
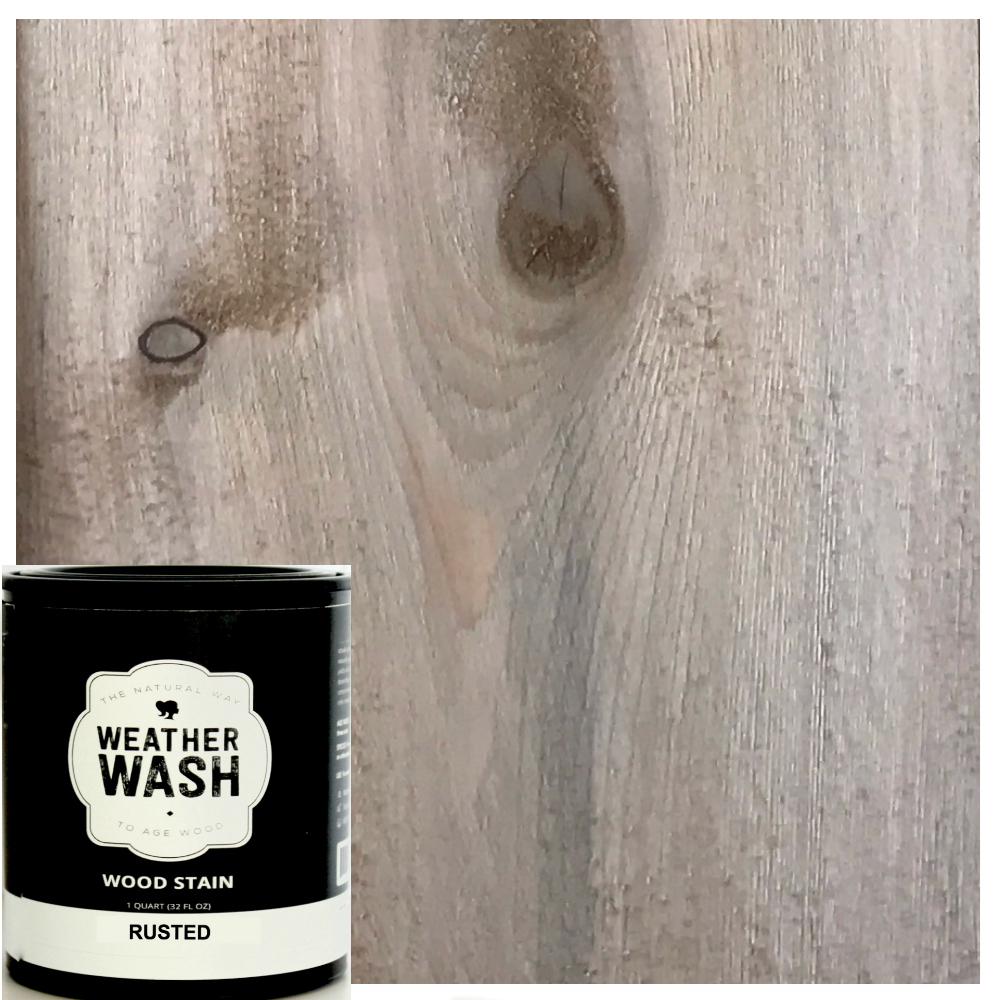
After sanding I applied a product called Weather Wash in the color Rusted to give the wood an aged look, like an old beam. The color looked good to me after one coat, but I could have added more to increase the effect. I was happy with the results, and I liked that the product was low odor since it was being used in doors. It actually had a kind of pleasant, minty smell.
The last step was lime washing. I made my own mixture using some leftover white paint (Benjamin Moore's Going to the Chapel), water and calcium carbonate powder. This mix is basically chalk paint, just watered down.
Lime Wash Recipe
1 Part Calcium Carbonate
1 Part Water
2 Parts Acrylic paint
Mix thoroughly until calcium powder lumps are absorbed. You can add more water to create a thinner paint. My mix had the consistency of skim milk.
I lightly painted the mixture on with a brush, then wiped it off with a damp rag, letting the stone show through in places. It was amazing seeing the whole room brighten as the paint covered the dark stone.
What do you think of the results? Let me know below!