

Evie's Nursery and Custom Wall Stencil
Evie’s Nursery Design
I’m so excited to share Evie’s nursery! I had her room about 95% decorated before she arrived, then as you can imagine, life with a newborn and a two year old kicked in and it took me a few weeks to get the last little bit done.
If you follow me on instagram, you might remember what this room looked like when it was decorated for Luke. We didn’t have a huge budget for the redo, so I wanted to reuse as much of the furniture as possible. We kept Luke’s RH Baby and Child crib, the painted side table and the Ikea Hemnes dresser. I put a fresh coat of paint on the side table. It’s old table I had from Target that was originally brown. I spray painted it with white paint and covered it with a satin spray sealant. The dresser got a makeover with these floral knobs. It’s amazing how by just changing the knobs, you can give a piece of furniture new life. I also repainted the old green toy box white using milk paint.
The old rug was starting to look dingy and needed an upgrade. Because the room is an odd size, I had a lot of trouble finding a square rug that would fit. Luckily, I found a perfect wool one from Chapin Furniture. I love that it’s wool, since natural fibers are easy to clean when you have those inevitable baby messes. The wool is also very soft and will be comfortable for her to crawl on once she gets bigger.
I also designed a custom glider and ottoman with Chapin furniture. The chair is covered in a performance pink velvet that cleans beautifully with water. On the ottoman we found a discontinued patterned fabric to cover it in that happened to work perfectly with my color scheme.
I added some feminine accessories to continue the transformation. I swapped out the old lamps with some new ones. The white one with the blue lampshade was a Home Goods find and the bone inlay lamp on the dresser is from RH Baby and Child. The rattan coat hook you can find here.
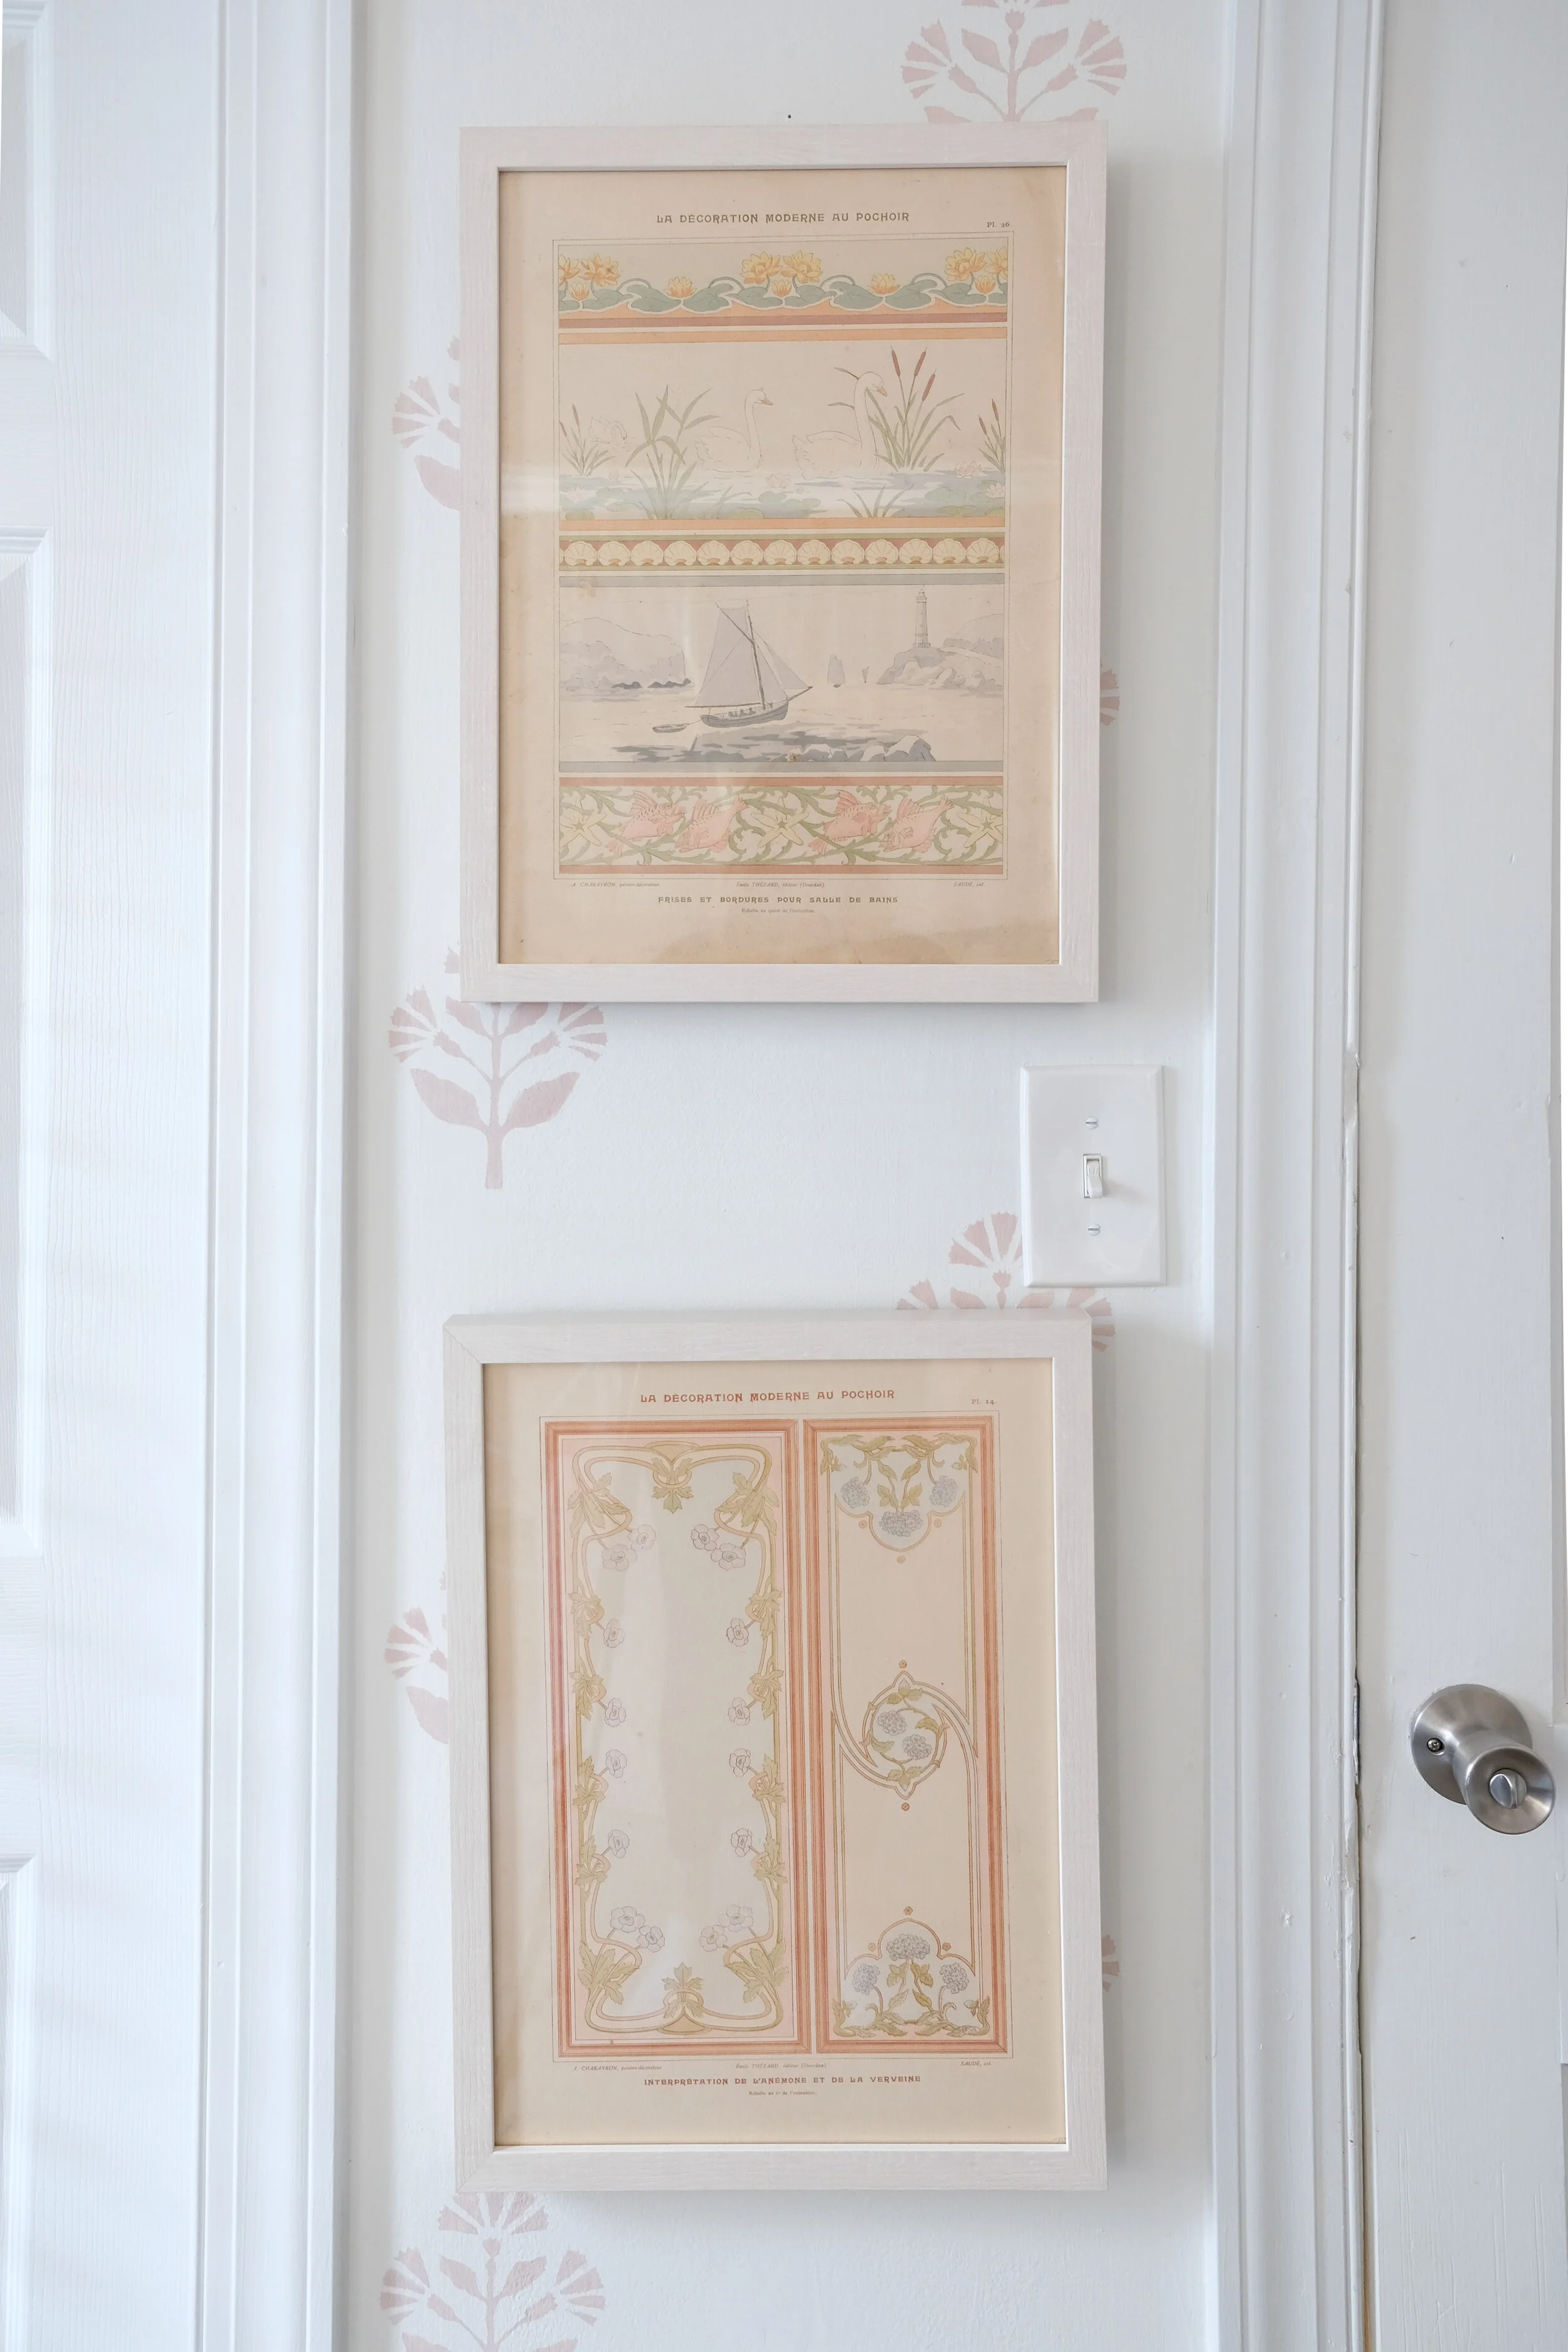
I purchased two (1. 2.) framed prints from Minted to bring in some more blue and green colors to the scheme. On the wall by the door, I hung vintage French prints I’d found at an antique show. I framed them using Framebridge. I’ve never tried Framebridge before and was a little nervous sending off two older prints that I couldn’t replace, but I was very happy with how they turned out. Not having to lug around the pictures to a framer when I was 38+ weeks pregnant was a bonus and the cost, I felt, was very affordable.
The adorable swan over the crib is from RH Baby and Child.


The Walls
I knew early on I wanted to use a pretty traditional pink color for her nursery, but I didn’t want it to feel overly sweet. I decided to paint the ceiling a solid pink instead of the walls, to give that hit of pink without having it wrap around the whole room.
I also knew I wanted a patterned wall. I originally fell in love with this Serena and Lily wallpaper, but the cost and labor were prohibitive. Since we’ll eventually outgrow this house and need to move on, I also didn’t want a very pink, girly wallpaper to be off-putting to potential buyers down the road. Still, I needed patterned walls to get the look I was going for, so I started to research more affordable ways to achieve them.

Les Indiennes block printed wallpaper
Making the Stencil
I was inspired by floral block printed wallpaper I’d seen and wanted to recreate that look. After searching unsuccessfully for a ready-made stencil, I decided to create one myself. I drew mine from scratch, but if you don’t feel comfortable drawing you can also trace a pattern from fabric or anything else you like. As you’re designing your stencil be sure to think of how it will look as you cut it out of the stencil paper. You don’t want to have any floating elements that you can’t attach to your main design. Everything will need to connect for the stencil to function properly.
From there I transferred the drawing by tracing my illustration using carbon paper on top of this clear plastic stencil paper. Then I cut out the tracing using an x-acto knife. This was by far the hardest part of the whole project, so I recommend keeping your design simple if you’re cutting it by hand. For more complex projects you could use a Cricut to save time. Also, keep in mind you may need to make multiple stencils. The paint on them can build up as you go and degrade the effectiveness of the stencil. I had to make three stencils total to complete my walls as the first two became unusable.

Once you’ve made your stencil you’ll need to measure out the distance between your repeating pattern on your walls. This will vary depending on your design, but make sure you factor in things like window and door sills as stenciling on top of them can be annoying. I recommend making a pencil mark to determine the placement for every spot you want to stencil before you start painting. It’s easier to erase and move a pencil mark than realize two walls in you’ve made a mistake with your math.
Applying and Painting the Stencil
When you have all of your measurements down, get ready to stencil. You’ll need some temporary adhesive spray and a drop cloth or a piece of paper to spray on top of (this is to keep your floors from getting sticky). Be careful not to get a more permanent adhesive spray or you’ll damage your stencil trying to get it off.
Lightly spray the back of your stencil and secure it to the wall. As you can see in my pictures, I used some yellow painters tape to show the edges of the stencil. I used these as a guide to keep the stencil level as I stuck it to the walls. Lightly push the edges of the stencil down with your fingers so there are no gaps. You should be able to stencil 3-4 times after each spray before you need to reapply adhesive.
Next, put a small amount of paint on a stencil brush and gently rub it into the walls. If you use too much paint or push down really hard the paint can seep under the edges of the stencil. Then peel back the stencil (do this right away while the paint is very wet) and move on to your next spot.
I found that the painting part of the stenciling moved quickly. It was much faster than the time I spent measuring or cutting out the stencil. There were a few spots where the stencil didn’t stick well and I needed to go back and touch up with a small brush and paint, but this was minimal.
When it was done, I loved the look and was so happy I put in the effort using a stencil vs. wallpaper. The effect was the same and I spent about $40 instead of hundreds for wallpaper.
So, what you think of the completed room? Let me know in the comments below and if you have any questions on how to stencil.
xoxo, Cate


